
Active Directory
-
For this project, the goal was to employ VMware to run a Windows Server 2025 and a Windows 11 virtual machine. This was done to gain familiarity with the mechanics of Active Directory by:
Installing Active Directory Tools
Joining a client to a domain
Creating Organizational Units, Security Groups, and Users
Configuring a Windows File Server
Managing NTFS and share permissions
-
VMware
Windows Server 2025
Windows 11 Enterprise
Active Directory Domain Services
-
Underscored centralization and user and resource management through the establishment of the st-homlab.local domain controller within the network
Facilitated organization by creating OUs, distribution and security groups, shared folder, permissions and user accounts
Joined a client to the domain to showcase access control and user authentication
-
Active Directory is essential to an institution’s security, efficient administration and scalability
Maintaining accounts and permissions applied are salient to the fight against insider and external threats
Active Directory Installation
Go to Server Manager, click Manage, select Add roles and features, choose Role-based or feature-based installation, and select the server from the server pool. From the server roles, check Active Directory Services, Remote Access, DNS Server, and Group Policy Management, then proceed to Installation
After installation, under Active Directory Domain Services, click Promote this server to a domain controller. In the Active Directory Domain Services Configuration Wizard, under Deployment Configuration, select Add a new forest for the deployment operation, and choose a root domain name: st-homelab.local
Under Domain Controller Options, enter the functional levels, type the Directory Services Restore Mode (DSRM) password, proceed to Installation, click Install, and restart the device
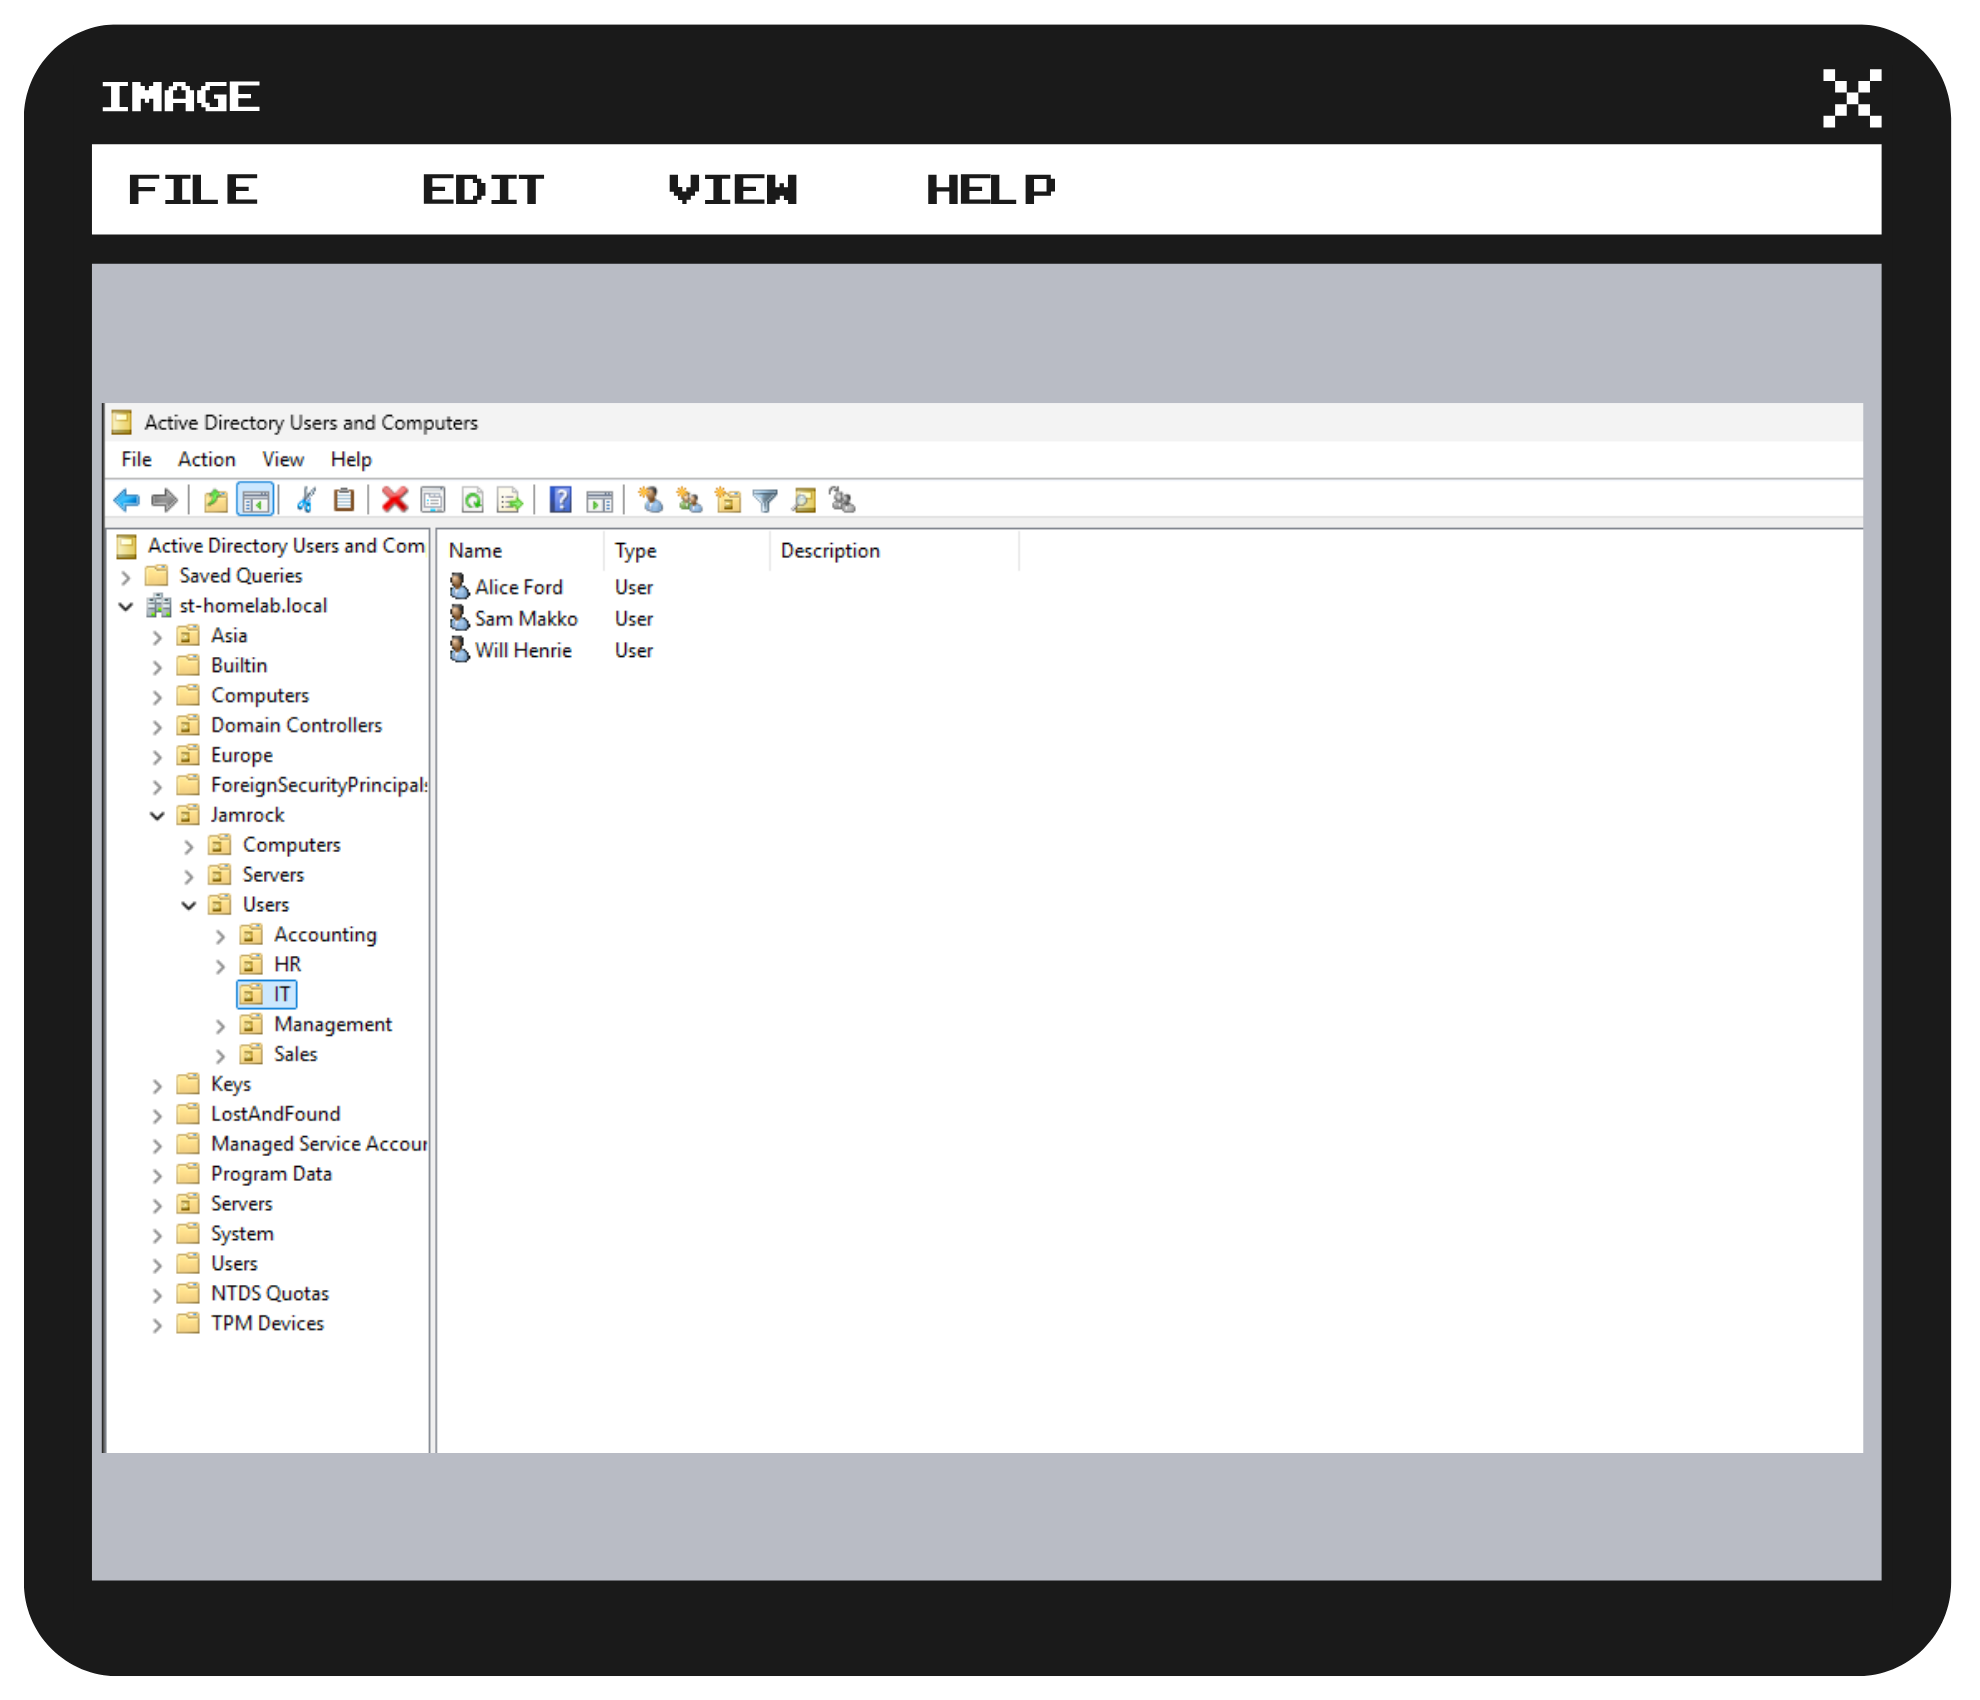
Log in to the domain, locate Active Directory Users and Computers, and right-click the domain name
Select New, then Organizational Unit (OU), give it an appropriate name, right-click the OU, click New, then OU, choose a name such as Users or Servers.
Right-click on an OU, click New, then Group, name the security group (e.g., names of Departments: IT), and create a distribution group (DL-ITAdmins) via the same process
To add a user, right-click Users, enter a name, user logon name, and password
Add a group member by double-clicking the user, then click Check Names, select Member Of, type the required group name, and apply changes
Rename the Server
In File Explorer, right-click This PC, click Properties, select Advanced System Settings, click Computer Name, click Change, change the name to one such as FileServer1, restart the device, and check the name by typing hostname in Terminal
Ensure the system is up to date in Windows Updates and double-check that Remote management is enabled in Server Manager
Create a Shared Folder
Go to File Explorer, double-click the C: drive, and create a new folder, Company Data, for example
In the folder, create other folders such as Accounting, HR, and Public
Configuring NTFS Permissions
Go to the Company Data folder, right-click a folder, click Properties, go to the Security tab, select Edit, click Add, type the group name, click Check Names, then select Modify, and click Apply
Go to Security, select Advanced, click Disable inheritance, choose Convert inherited permissions into explicit permissions on this object, remove unauthorized groups, keep system and admin-level access, and click Apply
Configuring Share Permissions
Right-click the Company Data folder, click Sharing, and then Advanced Sharing
Check Share folder, click Permissions, select Everyone, edit permissions according to requirements, then click Add and Apply
Join a Windows Client to a Domain
Set up a static IP address by opening Command Prompt, typing ipconfig, and assigning the IPv4 address to the server
In Settings, go to Network & Internet, go to Ethernet, and configure IP settings using the IPv4 address, subnet mask, and default gateway
To assign a domain admin, create a new user under a department OU (e.g., Alice Ford from IT), double-click the user, go to Member Of, click Add, enter Domain Admins, select Check Names, click OK, then Apply
To link a computer to a domain, install and configure a Windows 11 client, configure DNS settings using the server’s IP address for the DNS Server, and ping the server to ensure connectivity
Go to File Explorer, right-click This PC, select Properties, click Domain or workgroup, give the computer a name like Computer1, type in the domain name: st-homelab.local, and type in the domain user: Alice Ford, choose a password, click OK, restart the system, and sign in with the user’s credentials on the client
Move the computer to the appropriate OU on the server by right-clicking on Computers, clicking Move, expanding the OU, selecting the computer, adding a description that may include the user and the computer’s location, and clicking OK